In Defense of Fat
Golden freshly rendered pork fat, known as lard. I like to use paper towel or coffee filter to ensure that I’m storing only fat- no bits, no moisture as otherwise it could cause the lard to mold or go rancid. It gets its rich golden color from the nutrients held within that actually need fat to be absorbed!
Rendering fats at home, that was something completely normal. Something our Grandmothers and their Mothers and Grandmothers did, but with the advent of industrial fats being mass produced the tradition died off in favor of these industrial imposters over the last couple generations.
These days I cook mostly with pan drippings, butter or olive oil, but recently I’ve taken an interest in rendering my own beef tallow because it was available and I wanted to try some of my skincare recipes with Tallow as the base instead of cocoa butter or shea butter; long story short I fell in love. I’ve been experimenting with different rendering methods to provide readers with a comprehensive look at how simple and rewarding it can be. Each has its own pro’s and cons, and they all have a bit of nuance.
A massive thank you to my friends Brecca and Mitch Hipwell over at Hipwell Ranch for generously sharing the fruits of their labor with me for this passion project! Beef tallow has become one of my favorite oils for good reason, it has a very high smoke point like refined coconut oil, avocado oil or ghee. It’s not overly “beefy” tasting and suet also pretty easy to come by if you know where to look (hint: cattle ranchers, families that sell grass-fed beef)
I was raised with Crisco in my cookies, I didn’t know better. I grew up a city kid (not much has changed in that regard, I’m still a city dweller) we didn’t grow or harvest our own animals. My dad brought home a deer maybe once or twice, and bird on occasion. The fear of fats runs deep thanks to some lobbying, silencing of scientists and effective marketing- we ate the kind of bread that you could probably plant (you know the one basically made up of seeds lol) we rarely had store-bought cookies. If we had cookies they were the home made kind, using the recipe from the back of the tub of “butter flavored” shortening. Unfortunately many of us have this imprint on our memories and palates because a butter based cookie tastes good, but often different than we remember. It boils down to a bit of chemistry we will dive in to later.
Well, as the quote goes “when you know better, you do better” I learned about how these industrial seed oils are produced, it ain’t pretty! While they’re touted as being plant based and “heart healthy” they are truly anything but healthy, though they certainly are CHEAP. Aside from providing calories they are nutritionally defunct. Our bodies don’t know what to do with them. They’re basically plastics. Humans evolved eating animal fats, every cell in our body has a membrane with a lipid backbone, our brains are…mostly fat. Fats aren’t just caloric energy, they’re responsible for the structural integrity of our cells. The quality of the fat you consume does matter. Eat like your life depends on it.
I’m a bit partial to natural fats as opposed to those created in a lab and engineered to mimic these precious fats using chemistry. In the early 1900’s shortening was created in an effort to get some utility from the seed waste leftover from cotton production. A successful marketing campaign touted it as being cheaper than butter and it took off only later to be replaced with canola and “vegetable oil.”
Animal fats are an awesome addition to our diets and have had a place in our evolution until the advent of these industrial seed oils. They are not foreign to our bodies and in fact contain myriad of beneficial fat soluble vitamins and other nutrients. Tallow is rich in Vitamins D, E, K, Betacarotene, choline, linoleic acids which are essential for brain and nervous system health.
When we talk about fats we often think of the dreaded “saturated fat (SFA)” and “cholesterol” but we’re pretty foggy on the other kinds of “fats.” Maybe you’ve heard of MUFA’s and PUFA’s but don’t really understand what that means for your health, or even how it relates to the context of cooking. Different fats excel at different tasks in and out of the body. To blanket label them as fats is even a bit of an oversimplification, they are technically fats, but more specifically a ratio of different types of fatty acids. MUFA’s (mono-unsaturated fatty acids) and PUFA’s (poly-unsaturated fatty acids) are terms used to describe the molecular structure, which is ultimately responsible for how it handles in the kitchen! You could say different types of fats have a different recipe of fatty acids.
We can’t talk fats and fatty acid profiles without acknowledging the quality. Not all fats are created equal- when the fat of grass-fed/grass-finished cattle is compared to that of grain-fed cattle the fatty acid profile has a more favorable Omega 3 to Omega 6 ratio (O3’s are anti-inflammatory, while O6’s are pro-inflammatory). Grass-fed beef has less fat overall, but the difference in fatty acid composition actually makes it taste and behave differently. Pork are no different, their diet changes their tissue composition.
I’ve said it before and I’ll say it again—it’s worth repeating— The quality of your food matters, the quality of your animal protein matters, the quality of their food and living conditions matters. Animals are great at sequestering toxins in their fatty tissues, humans are not exempt from this either. I’m not just talking toxins in a Gwynneth sense, I’m talking the toxic metabolic byproducts of living a stressed out life on a diet thats not optimal for their health. Guess what, its not going to be optimal for your health either. I know being able to purchase the highest quality cuts of meat may be a budgetary stretch for some and in these cases my recommendation is and will continue to be “buy the leaner cuts” when you must buy conventional meat, and to make your budget stretch further with the good stuff, buy the bigger cheaper per pound cuts loaded with good-for-you fat and connective tissue, and learn to prepare them properly to get the most bang for your buck.
Saturated Fatty Acids (SFA) have single bonds in their carbon chain, giving them a more crystalline structure, hence why they are more solid at room temperature. Mono-unsaturated(MUFA) and Poly-unsaturated fatty acids(PUFA) contain one or more more double bonds in their carbon chain leaving them more susceptible to oxidative damage from heating or enzymatic actions. The more double bonds the more vulnerable to destabilization; eating fats associated with fried food isn’t inherently bad, its consumption of burned oils with compromised chemical structure that bears the most deleterious health effects.
Enough science, lets get to the cooking!
Wet Method
Wet rendering has quickly become my favorite for rendering Beef Tallow, despite it being a few extra steps, and more time, its still pretty hands-off. Why —because its less likely to scorch or burn if you’re pulled away or easily distracted and you end up with a higher yield and a more flavor/odor neutral product. It can be done in the slow cooker also.
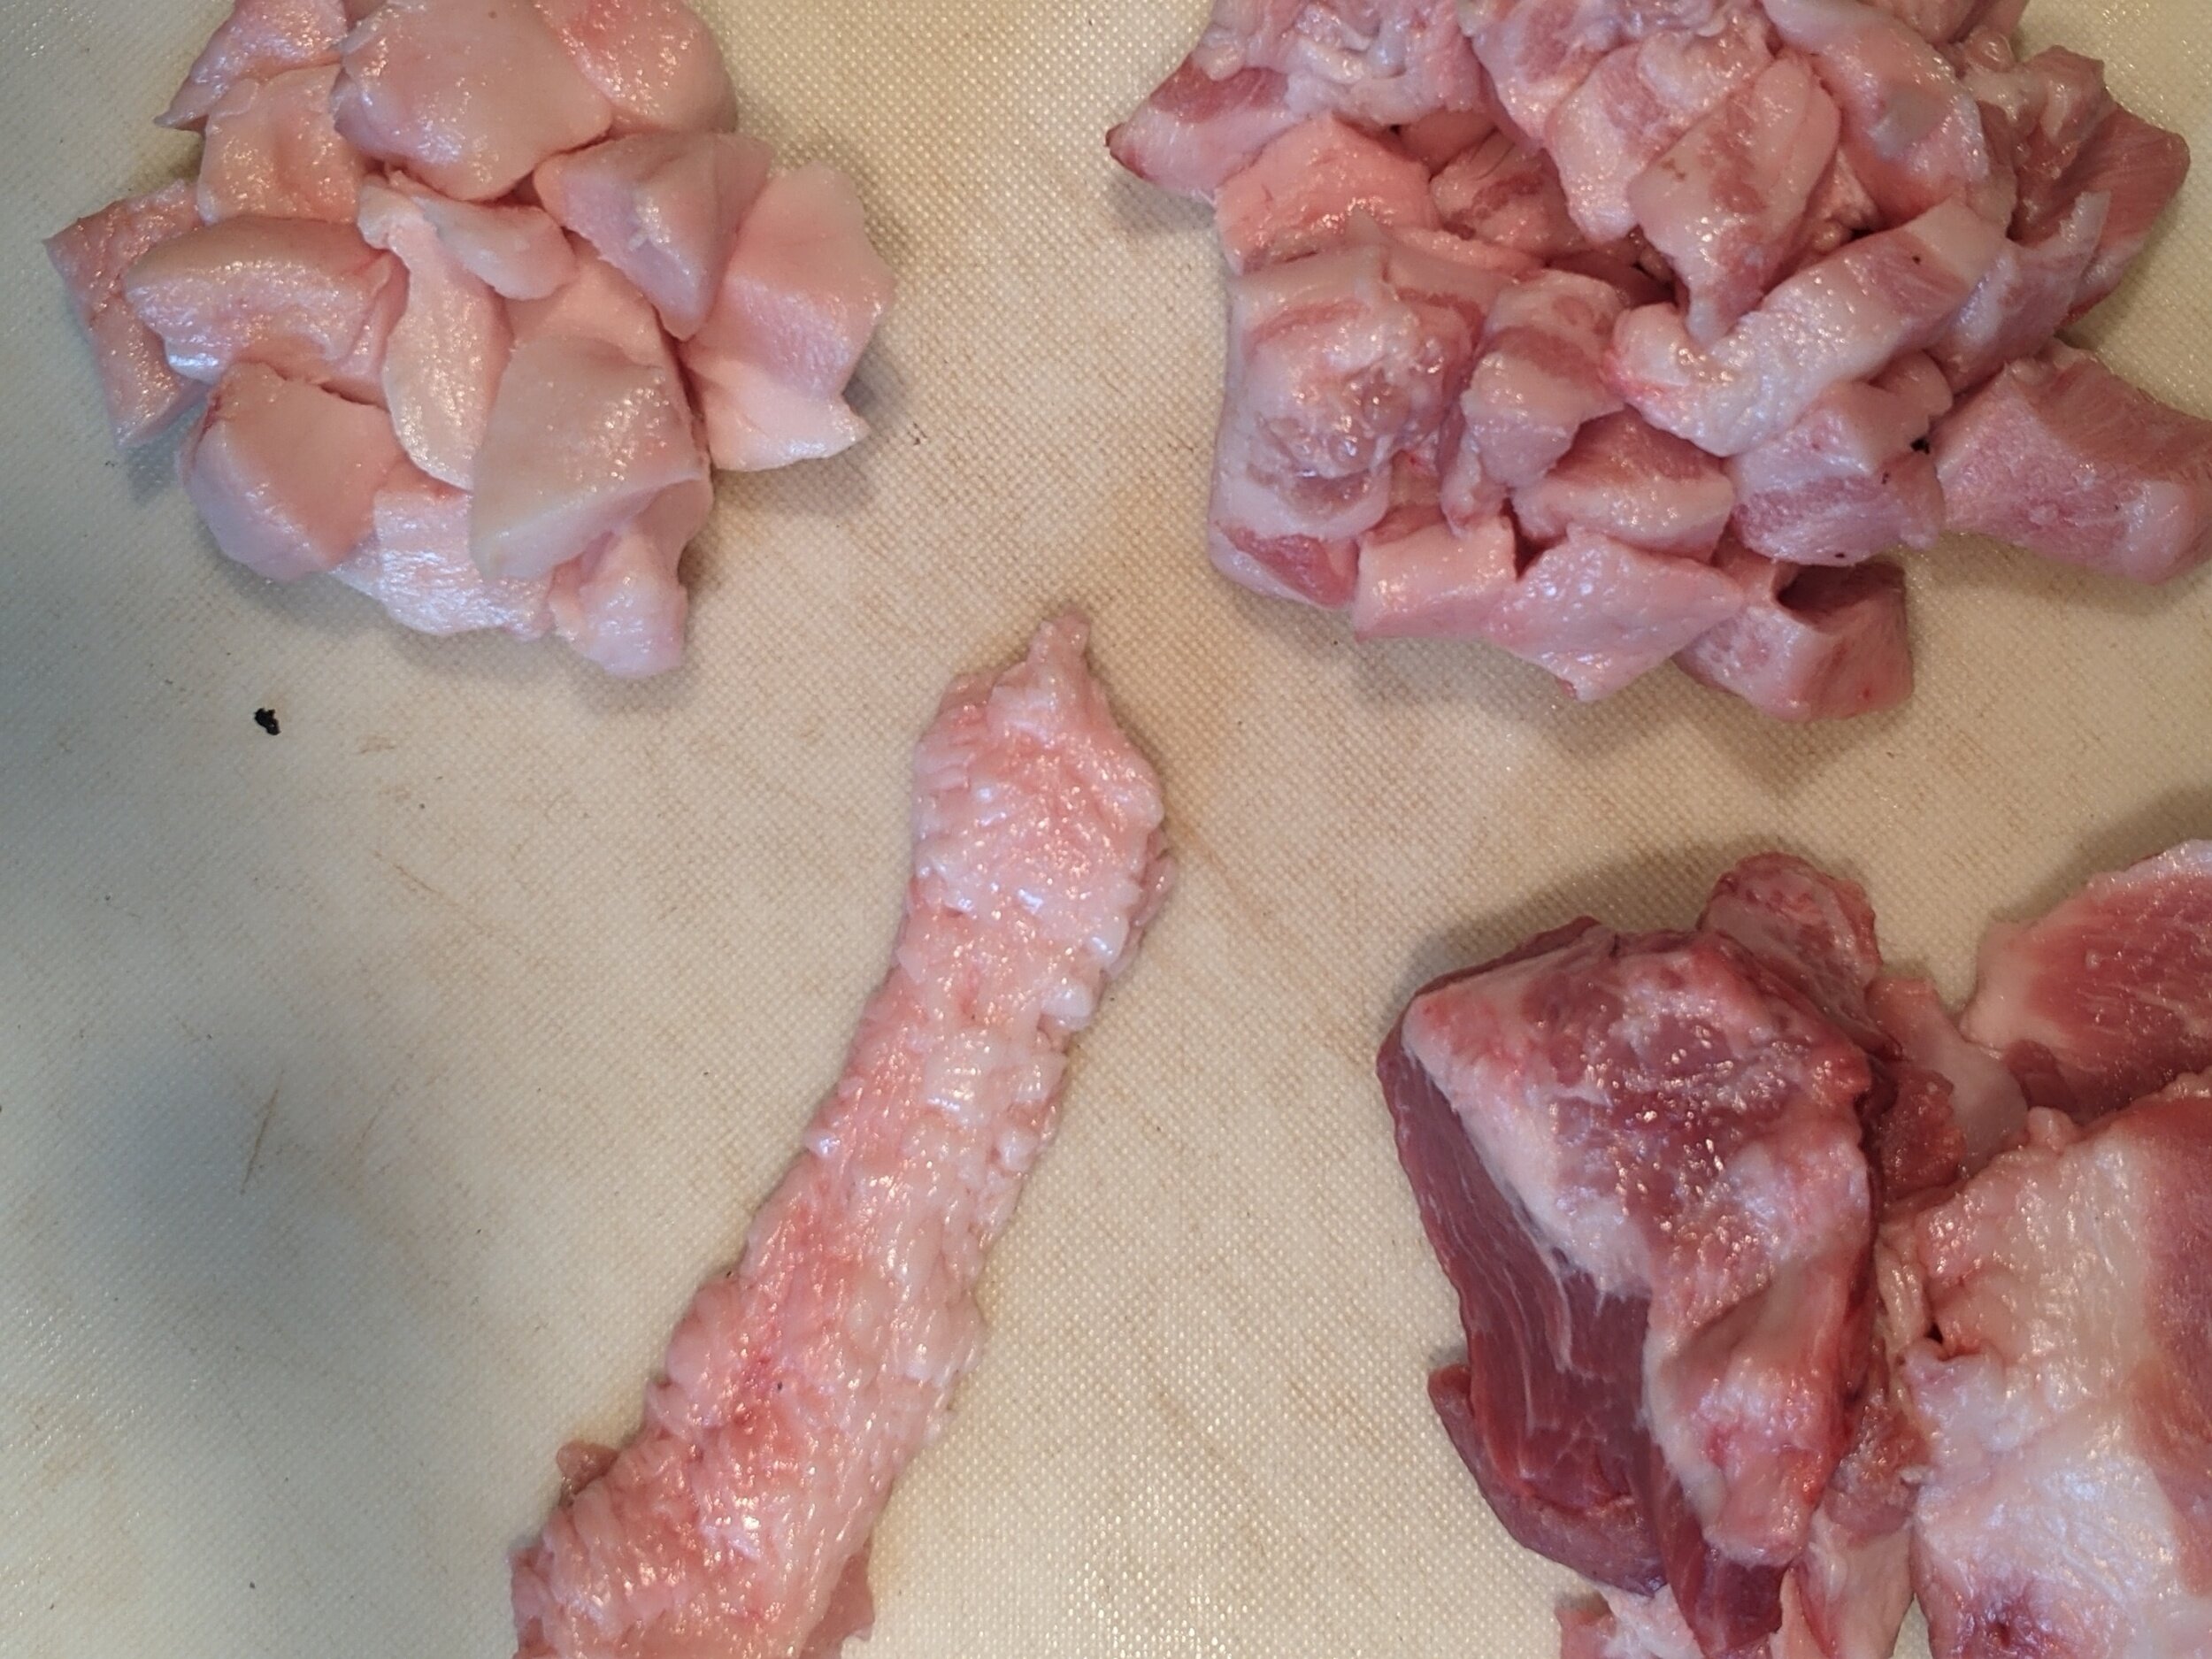
Cut or break the fat into small pieces, or have your butcher grind it for you.
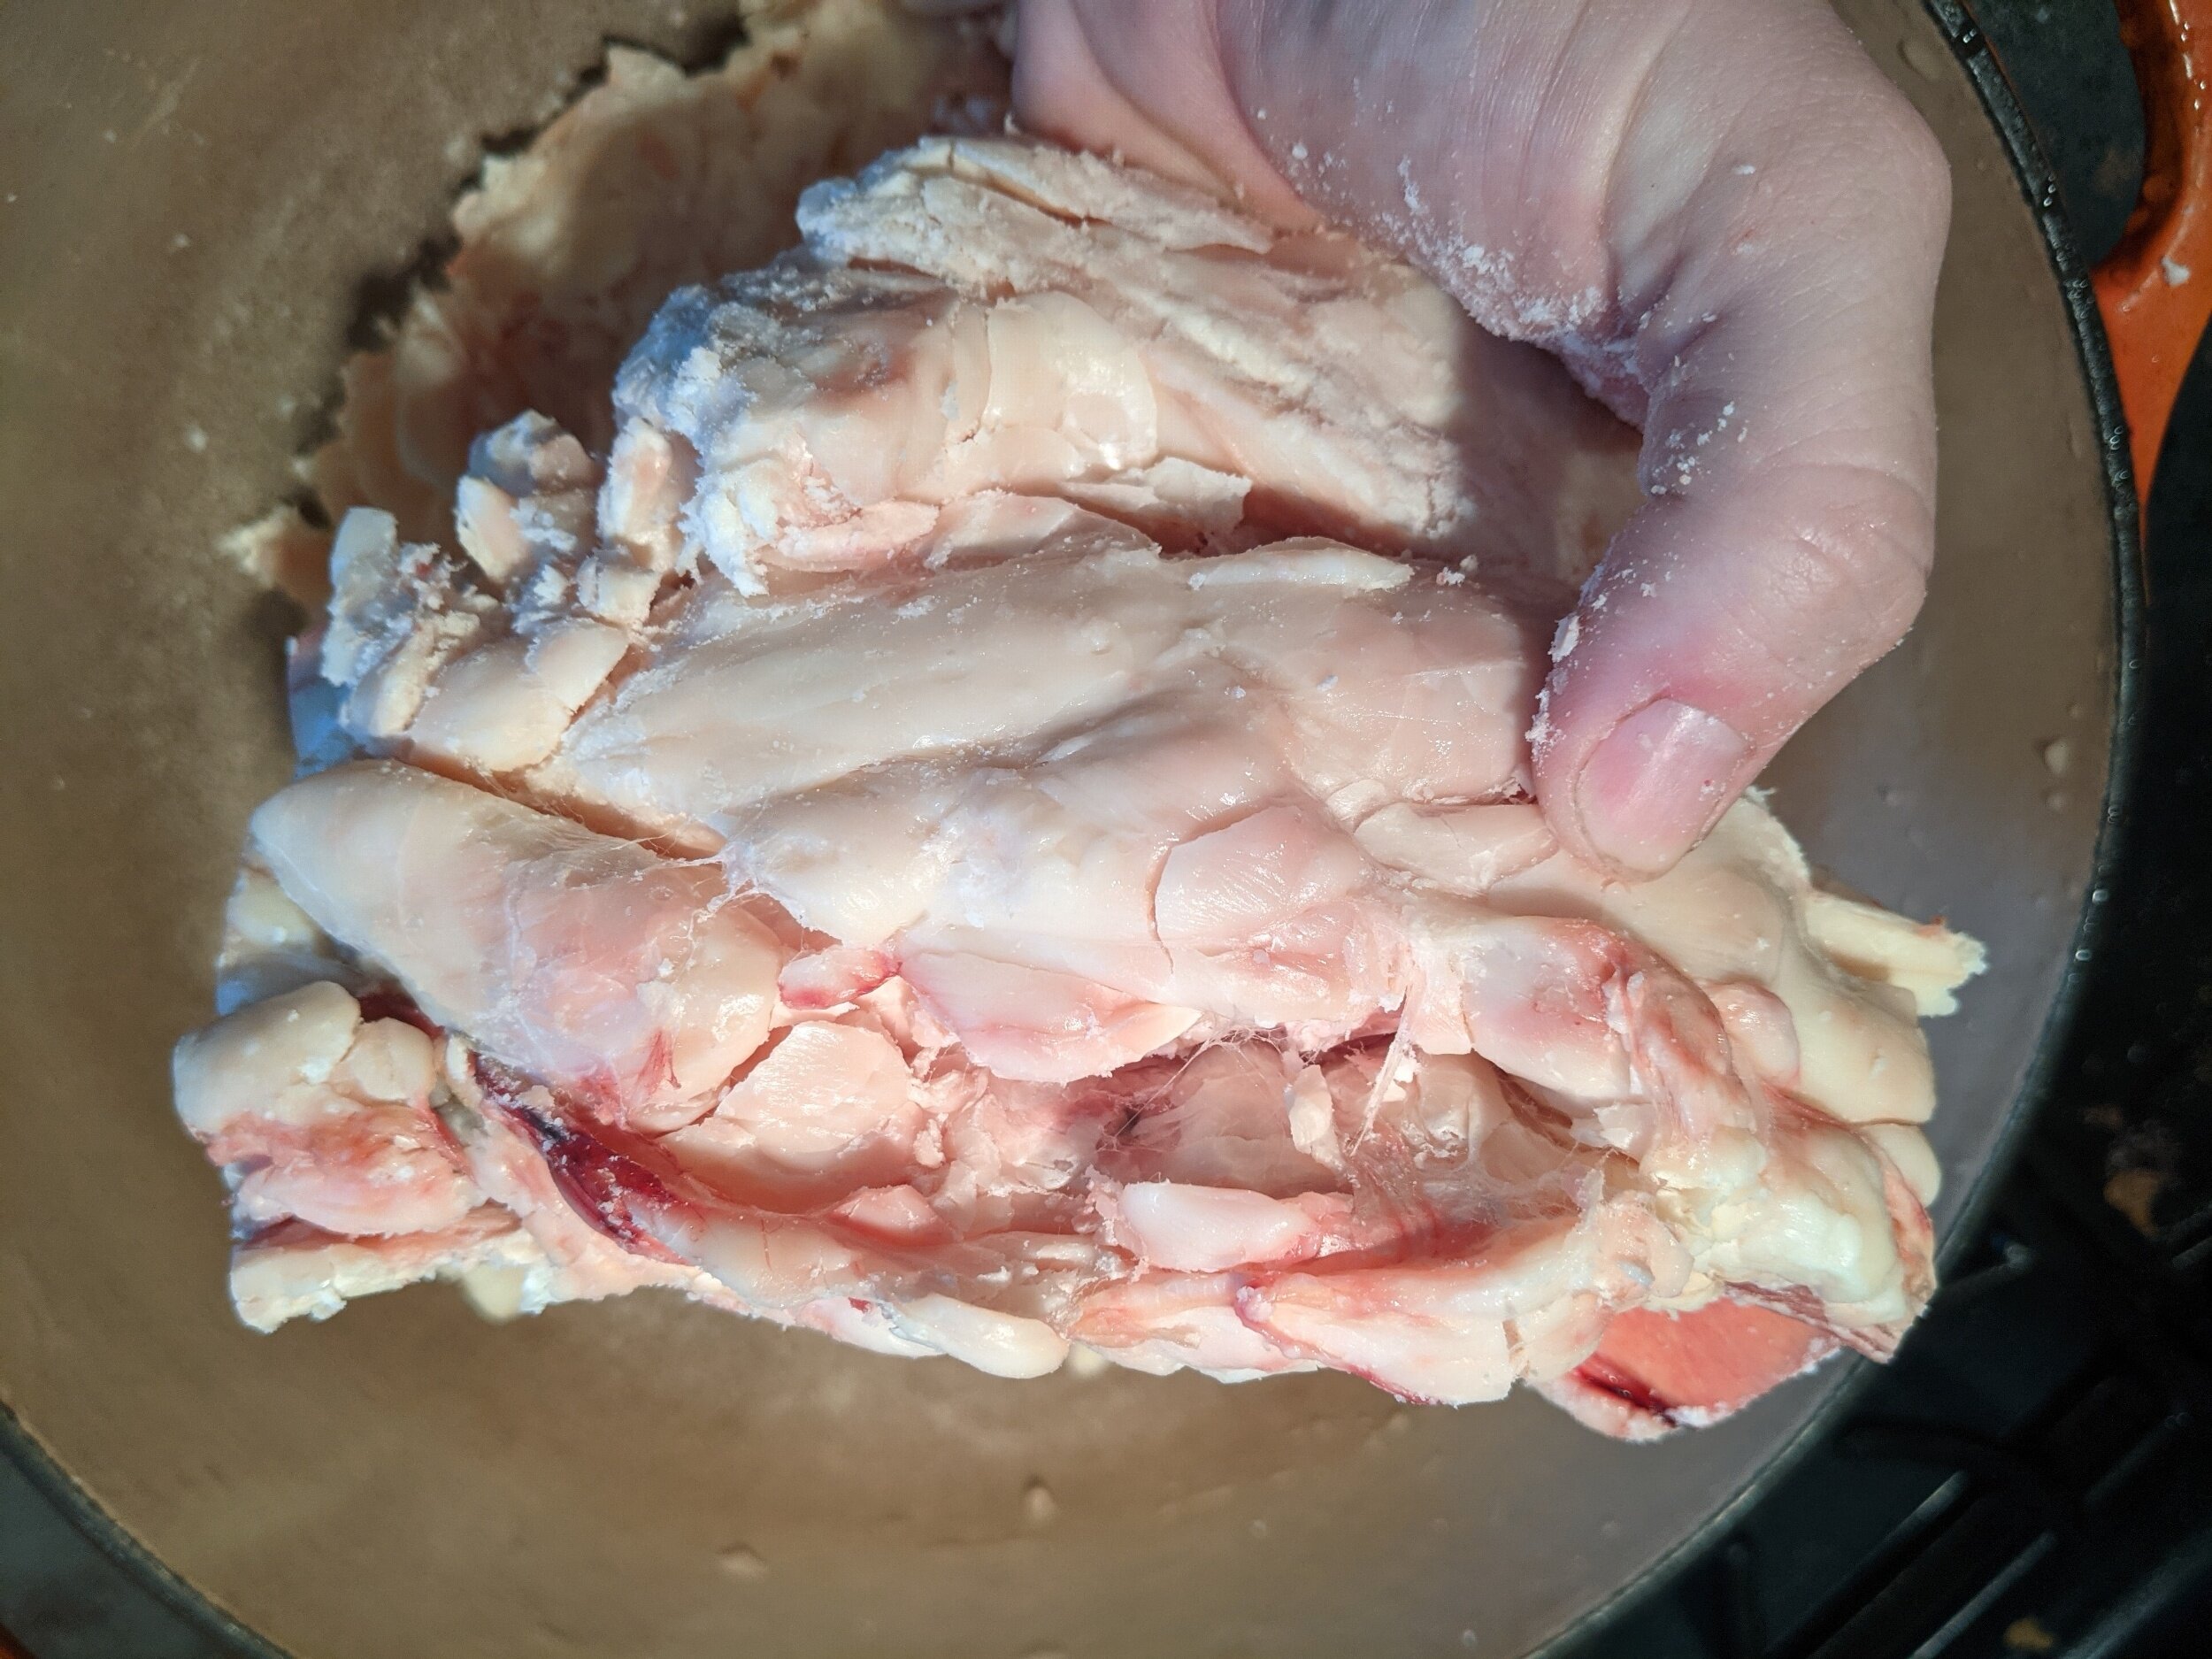
Add fat to a large dutch oven or slow cooker, with enough water that the fat can move around freely.
Stir in approximately ¼ cup of salt, it will help draw out the impurities as it renders.
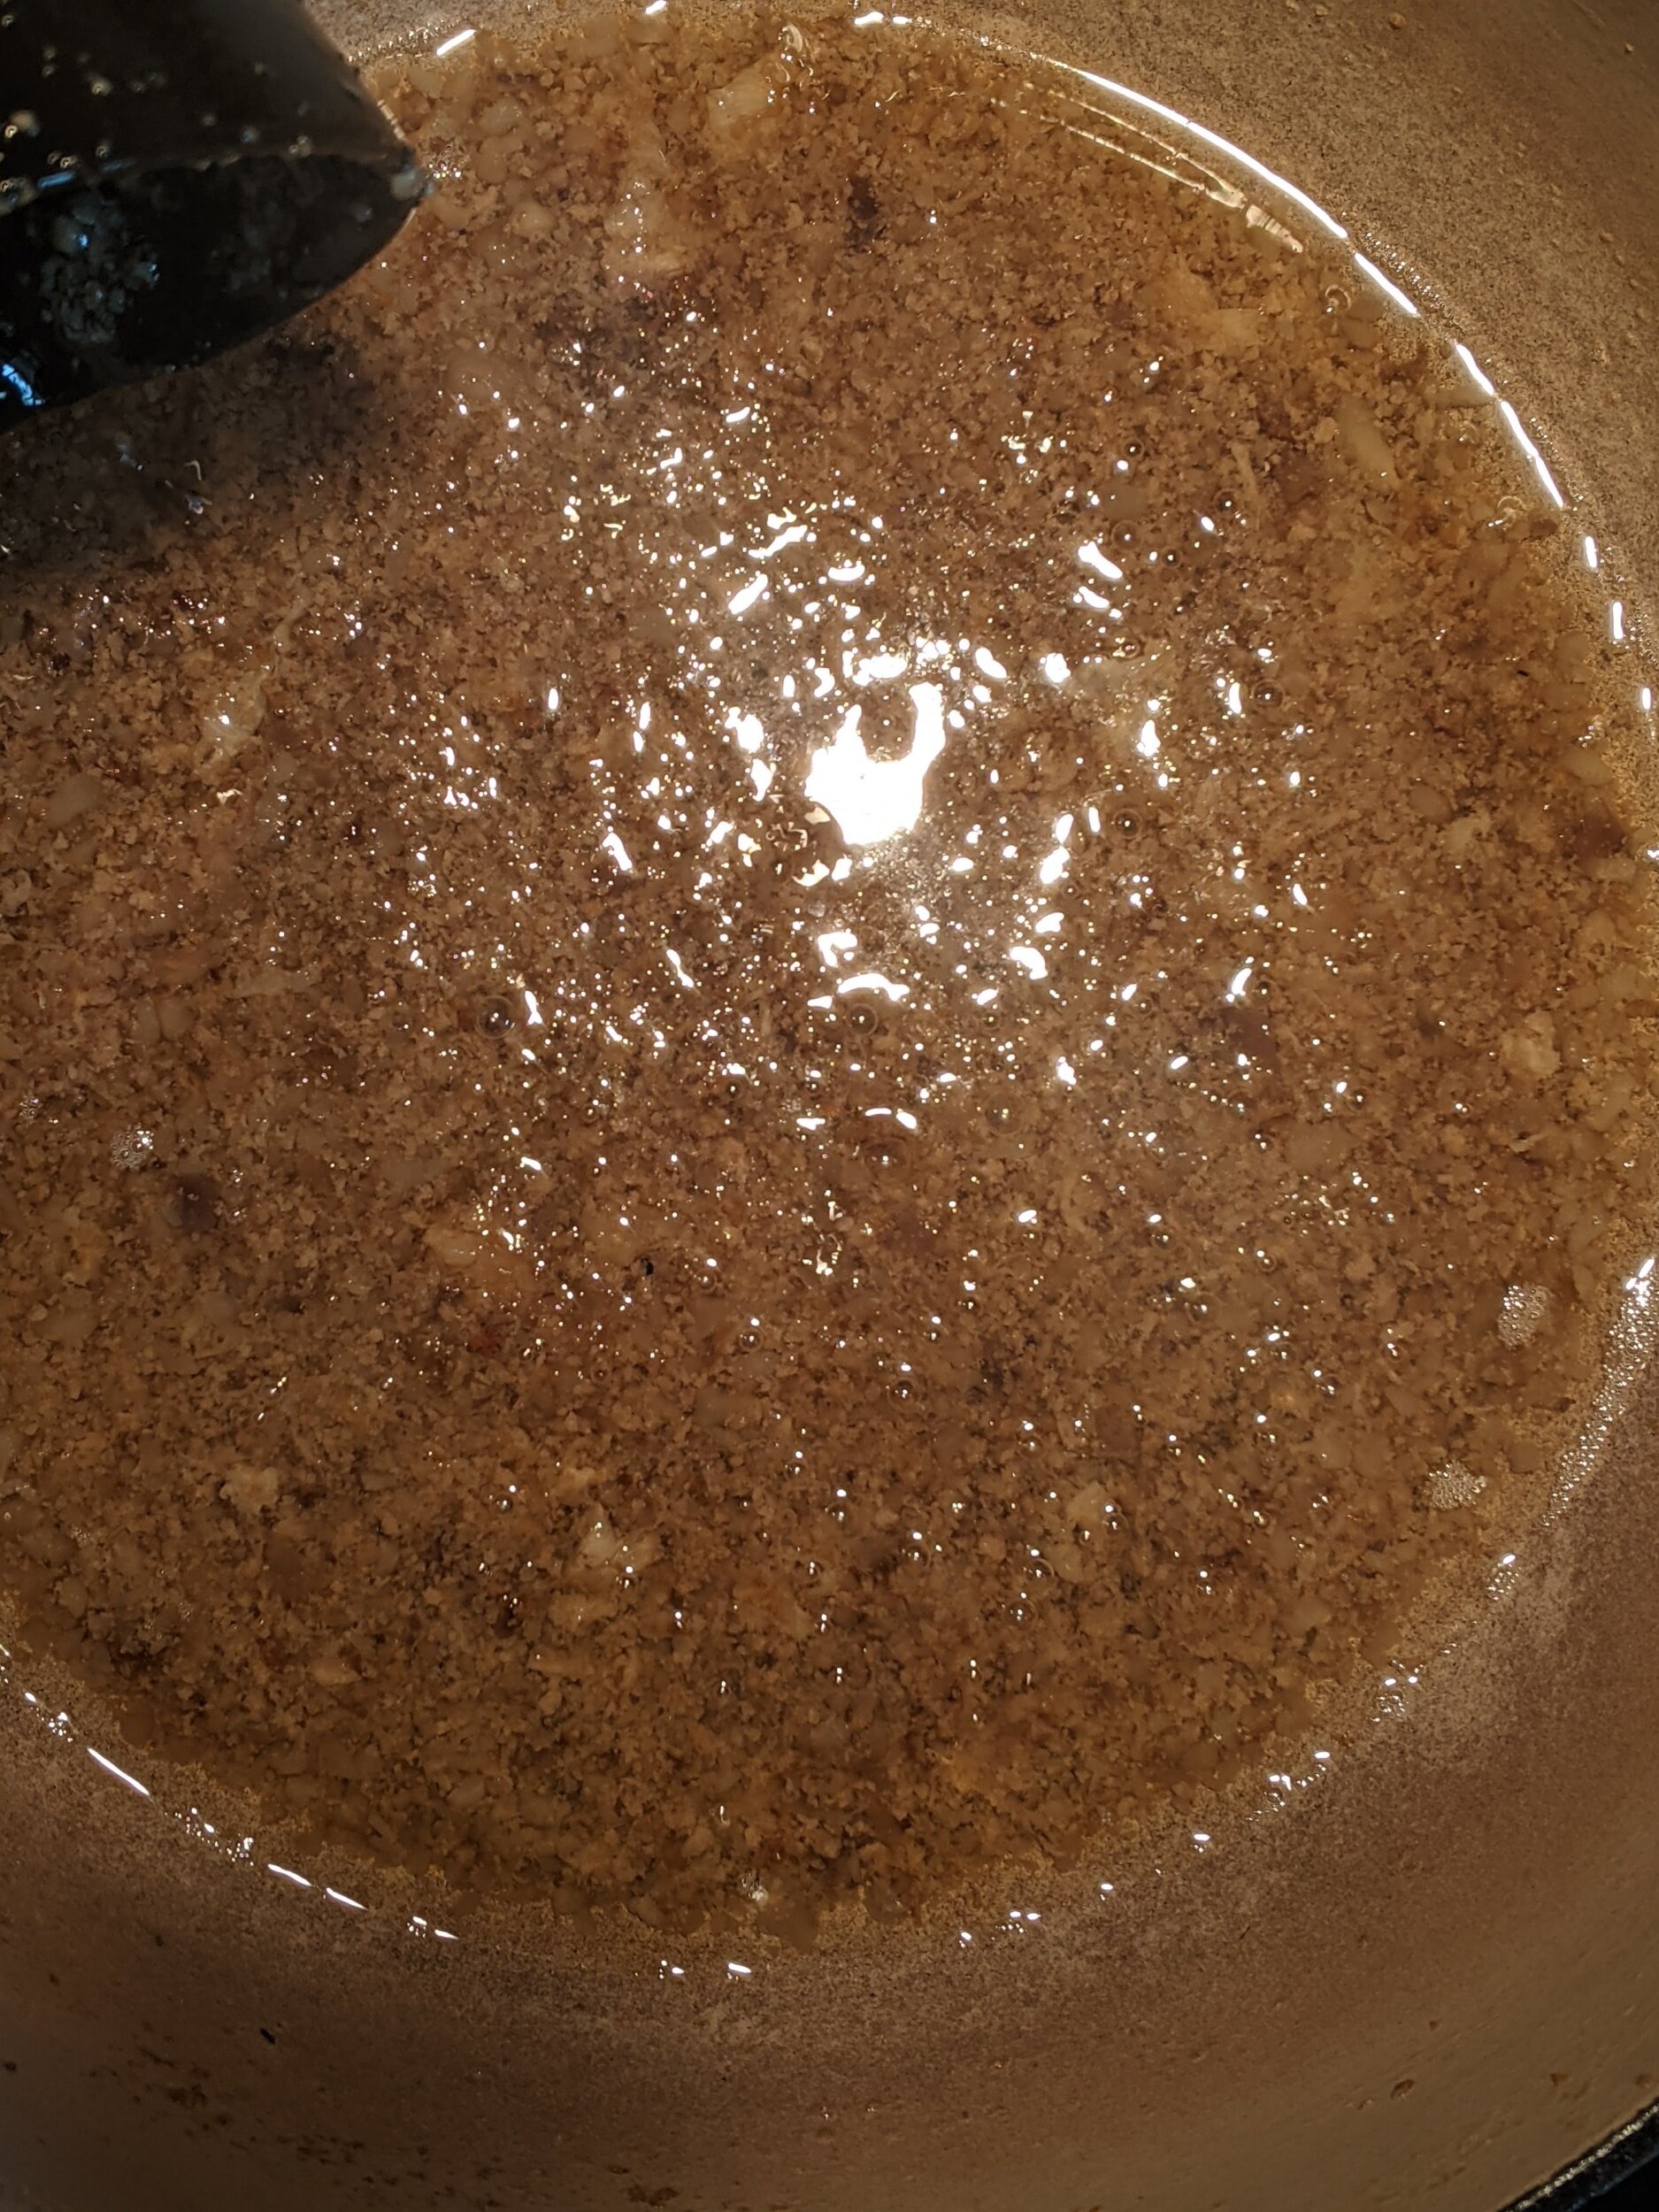
Set over medium low heat until it comes to a boil, to speed the process along you can use an immersion blender to further chop the cubes until the mixture is around the size of a grain of rice. Not necessary if you’re starting with ground fat. Cubed fat will take significantly longer to render and yield will be lower if you skip this step. It will look like very disgusting oatmeal.
Stir periodically and check to ensure that there is sufficient water present. If the water runs out the meaty bits will quickly scorch and ruin the whole lot.
After a few hours there should be a decent amount of fat floating on the surface. Carefully pour it through a cheesecloth (or paint strainer) lined colander into a large mixing bowl or pot. Place it in the refrigerator or cool spot and allow the fat to solidify. Carefully remove the disk of fat and dump the water.
IF you don’t mind a slightly meaty taste to your fat you can return the solids from the strainer to the heat and dry render them further. Keep the heat low to minimize spattering. When all the moisture has evaporated off you will start to see more oil accumulating between the bubbles. Cook for a while stirring frequently so the solids don’t burn, strain through fine mesh, pressing gently with the back of a spoon into a storage container. The leftover mush can be cooled and broken up and given to chickens, or dogs as a treat! Zero waste!
This washing step is completely unnecessary if you plan to use your renderings in a short time frame or store in the freezer and do not intend to use them for skincare. REPEAT steps 5-6 to further purify the fat which will allow for longer storage and eliminates much of the residual meaty odor from the finished product.
Strain melted fat into airtight containers. Ensure that there is no water pocket at the bottom as this will introduce mold. Can be stored at room temp for about a month, if you plan to store it longer refrigerate or freeze.
Dry Method
The dry method of rendering has its advantages, most notably it is the fastest and requires fewer steps, but with that speed comes a bit of risk of scorching. Dry rendering can be done in the oven or slow cooker as well, but requires your attention. Once the remaining tissue starts to go golden brown you will start noticing the meaty qualities in the resulting fat. While its not a big deal for roasting veggies or other savory applications, you probably don’t want your apple pie tasting “porky”. Dry rendering is best for Pork Lard as its higher MUFA content leaves it soft enough that even when cold it would be difficult to remove in large chunks, though it can be done. Don’t ADD Salt!
This is also how I prepare bacon bits, precut into strips lets it render and crisp easier than cooking it as whole pieces.
Place your solid fat in a heavy bottomed pot or dutch oven
Set the heat to low and cover with lid
Periodically stir to make sure all the bits are expressing their fats and juices.
Continue cooking over low to medium low heat until all the fats have rendered out and the moisture has evaporated off.
Strain through paper toweling or coffee filter into airtight containers. Freeze for longer storage. Removal of any burned or meaty sediment and residual moisture will help ensure longer freshness as those are the things that will cause it to go rancid (oxidization)
If you’re using the slow cooker (or Instant Pot slow cooker setting)
Place the solid fat in the insert.
Set to low and let it cook for 18-20 hours
Carefully remove the lid so any accumulated condensation does not drop back into the fat, remember, moisture=mold.
Pour off any fat that has accumulated through a filter into your storage container of choice. Stores at room temperature for about a month, longer in the fridge or freezer.
Much of the argument against saturated fats comes from a 1950’s study where rabbits were fed cholesterol. As is often the case animal studies do not mimic what is happening in the human body. Rabbits are strict herbivores with very finicky digestive systems. This is the source of the Lipid Hypothesis or Cholesterol Hypothesis that is still being used by the food industry to fear monger consumers into choosing their manufactured oils.
Read more about it here.
Taking fats and oils past their smoke point is a “recipe” for disaster. You could experience a flash fire (always keep a lid handy when frying) but less immediately catastrophic, overheated oils can be carcinogenic or have other negative long-term health implications.


